
Introduction
If you’re experiencing issues with your air compressor, one common problem is the Craftsman 919.165310 air regulator leaking. This issue can disrupt your workflow and reduce the efficiency of your equipment. This article explores the reasons behind the Craftsman 919.165310 air regulator leaking, how to identify the problem and practical solutions. By the end, you’ll be well-equipped to handle this common issue.
Understanding the Craftsman 919.165310 Air Regulator
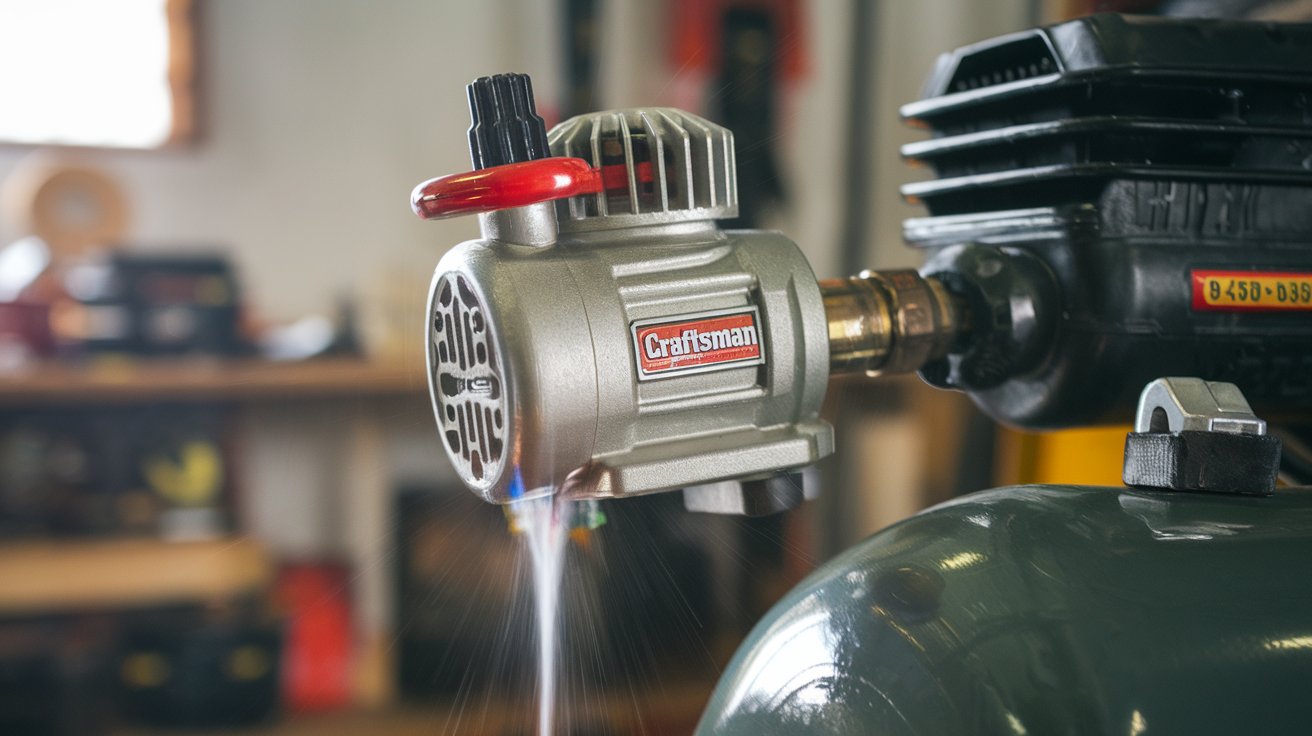
The Craftsman 919.165310 air regulator is crucial to your air compressor system. It regulates the pressure of the air supplied to your tools, ensuring they operate smoothly and effectively. When functioning correctly, the Craftsman 919.165310 air regulator helps maintain optimal air pressure, which is vital for the performance of pneumatic tools. However, if the Craftsman 919.165310 air regulator leaking, it can lead to inconsistent pressure and inefficiency in your equipment.
Common Causes of Craftsman 919.165310 Air Regulator Leaking
There are several reasons why you might encounter a Craftsman 919.165310 air regulator leaking:
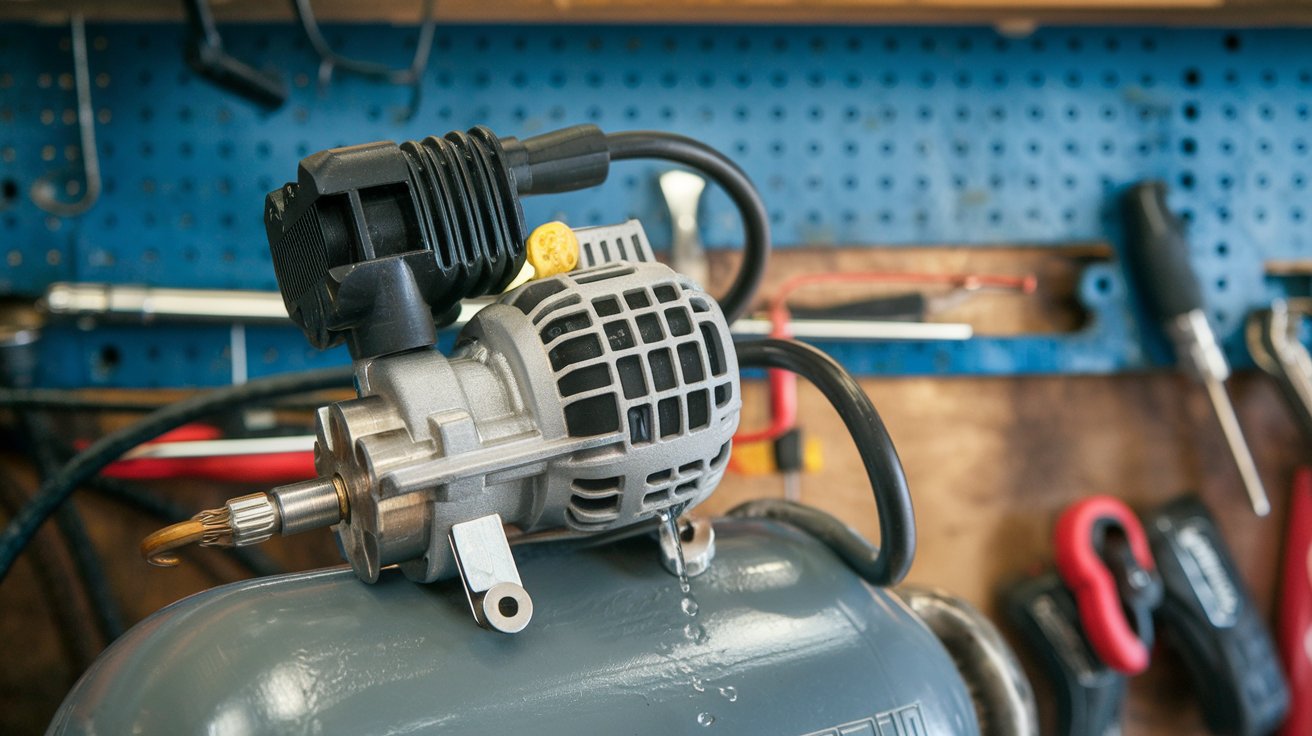
- Worn Seals: Over time, the seals within the Craftsman 919.165310 air regulator can wear out, causing air to escape. This is one of the most frequent causes of leakage.
- Loose Connections: If the connections between the regulator and the air compressor are not secure, it can result in a Craftsman 919.165310 air regulator leaking. Regularly checking for tightness can prevent this issue.
- Cracked Housing: Physical damage, such as cracks in the regulator housing, can lead to air leaks. Inspecting your Craftsman 919.165310 air regulator for any visible damage is essential.
- Incorrect Pressure Settings: Setting the air pressure too high can strain the Craftsman 919.165310 air regulator, leading to leaks. Always refer to the manufacturer’s guidelines for appropriate pressure levels.
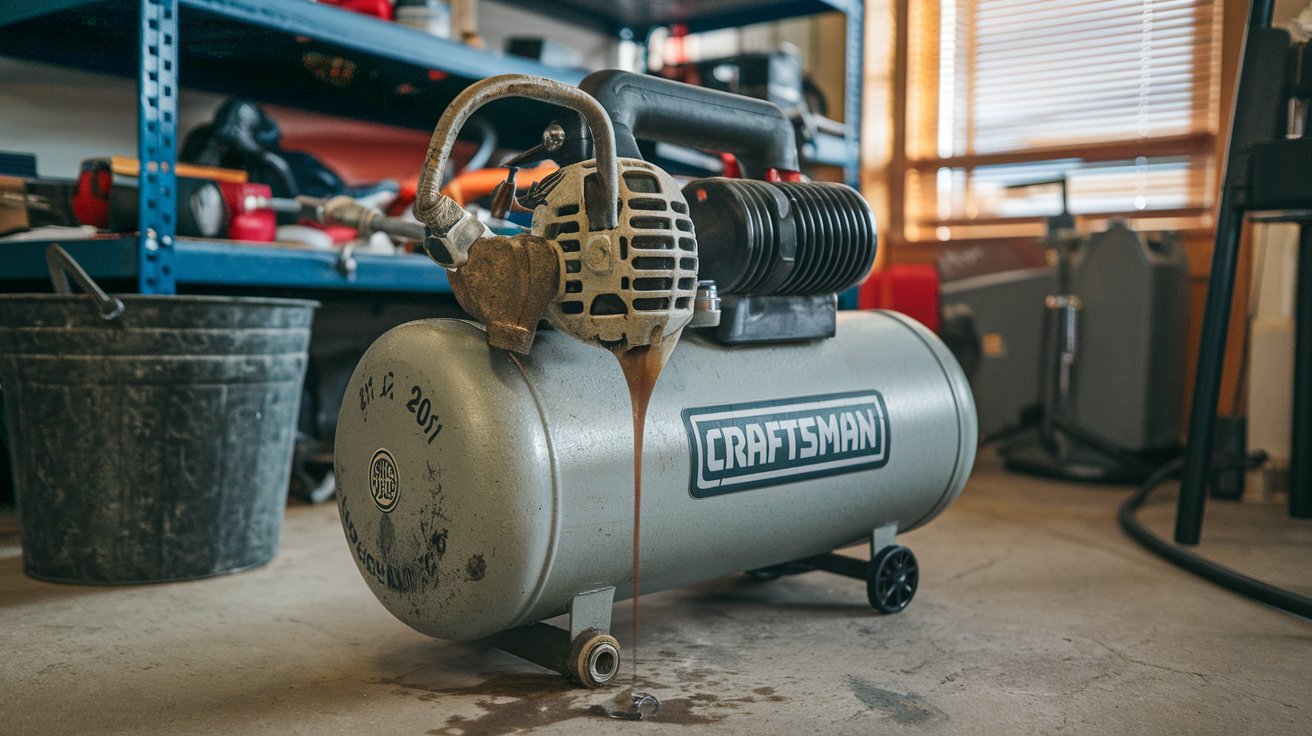
- Dirt and Debris Buildup: Dirt and debris can accumulate on the regulator, leading to potential leaks. Keeping your Craftsman 919.165310 air regulator clean can help prevent this issue.
Identifying a Leak in the Craftsman 919.165310 Air Regulator
Detecting a leak in your Craftsman 919.165310 air regulator is crucial for timely repairs. Here are several techniques to detect leaks:
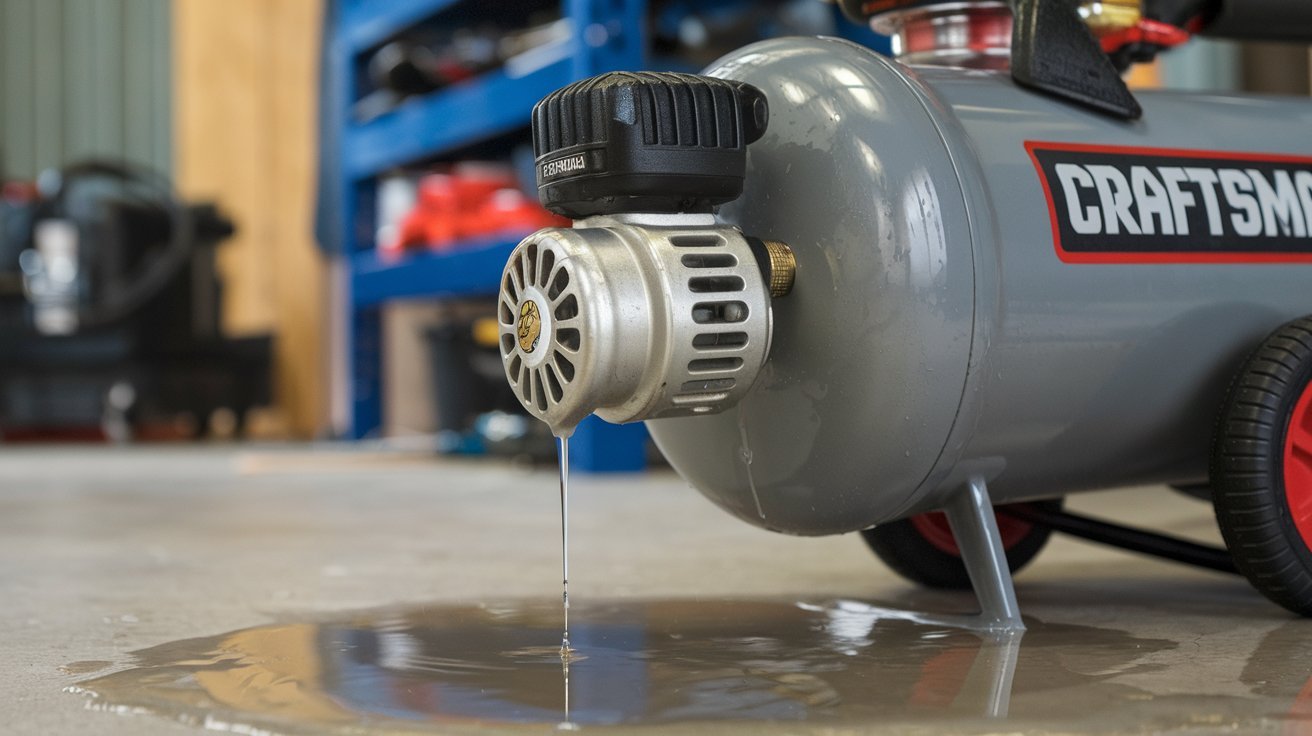
- Visual Inspection: Start by visually inspecting the Craftsman 919.165310 air regulator for signs of wear or damage. Look closely at the connections and seals.
- Listening for Hissing Sounds: A hissing sound near the regulator while operating could indicate a Craftsman 919.165310 air regulator leaking.
- Soapy Water Test: Mix soap and water and apply it to the suspected areas. Bubbles signify that a leak is present.
- Pressure Gauge Monitoring: Monitor the pressure gauge. A significant pressure drop when the compressor is off may signal a leak in the Craftsman 919.165310 air regulator.
Fixing the Craftsman 919.165310 Air Regulator Leaking
Once you’ve identified that your Craftsman 919.165310 air regulator leaking, follow these steps to fix it:
- Turn Off the Compressor: Safety first—always turn off and unplug your air compressor before starting any repairs.
- Release Air Pressure: Open the drain valve to release residual air pressure. This step is crucial when working on the Craftsman 919.165310 air regulator.
- Disassemble the Regulator: Carefully remove the regulator from the compressor, noting how it is assembled for easier reassembly.
- Inspect Seals and Gaskets: Examine the seals and gaskets within the Craftsman 919.165310 air regulator for any wear or damage. Substitute any worn components with new ones.
- Tighten Connections: Ensure that all connections are secure. Tighten any loose fittings using a wrench, being cautious not to over-tighten.
- Check for Cracks: Look for cracks in the regulator housing. If you find any, you may need to replace the entire Craftsman 919.165310 air regulator.
- Clean the Regulator: Remove dirt and debris from the regulator to ensure it operates smoothly and reduces the risk of future leaks.
- Reassemble and Test: Once repairs and cleaning are complete, reassemble the Craftsman 919.165310 air regulator and reconnect it to the compressor. Activate it and recheck for leaks.
- Adjust Pressure Settings: After fixing the leak, adjust the pressure settings to ensure they are appropriate for your tools.
Preventing Future Issues with the Craftsman 919.165310 Air Regulator
To minimize the risk of a Craftsman 919.165310 air regulator leaking in the future, consider the following maintenance tips:
- Regular Inspections: Periodically check the Craftsman 919.165310 air regulator for signs of wear or leaks.
- Keep It Clean: Clean the regulator regularly to prevent dirt buildup that can lead to leaks.
- Monitor Pressure Settings: Always maintain the recommended pressure settings for your tools and equipment.
- Replace Worn Parts Promptly: If you notice worn seals or gaskets, replace them immediately to avoid leaks.
- Seek Professional Help: If you’re unsure about the condition of your Craftsman 919.165310 air regulator, consider having it serviced by a professional.
Conclusion
Dealing with a Craftsman 919.165310 air regulator leaking can be frustrating, but with the right knowledge and tools, you can effectively troubleshoot and repair the issue. Regular maintenance and prompt attention to leaks will extend your air regulator’s life and improve your air compressor’s performance. By following the steps outlined in this guide, you’ll ensure that your Craftsman 919.165310 air regulator continues to operate efficiently, providing you with the reliable air pressure you need for your tools and projects.